Macro photography opens up an incredible world of tiny details, revealing textures and patterns invisible to the naked eye.
Let’s explore the fundamental composition rules that will help you create stunning macro images.
The Rule of Thirds
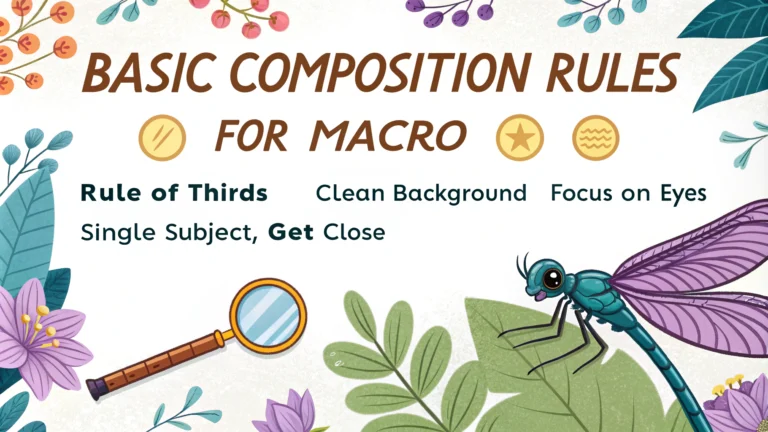
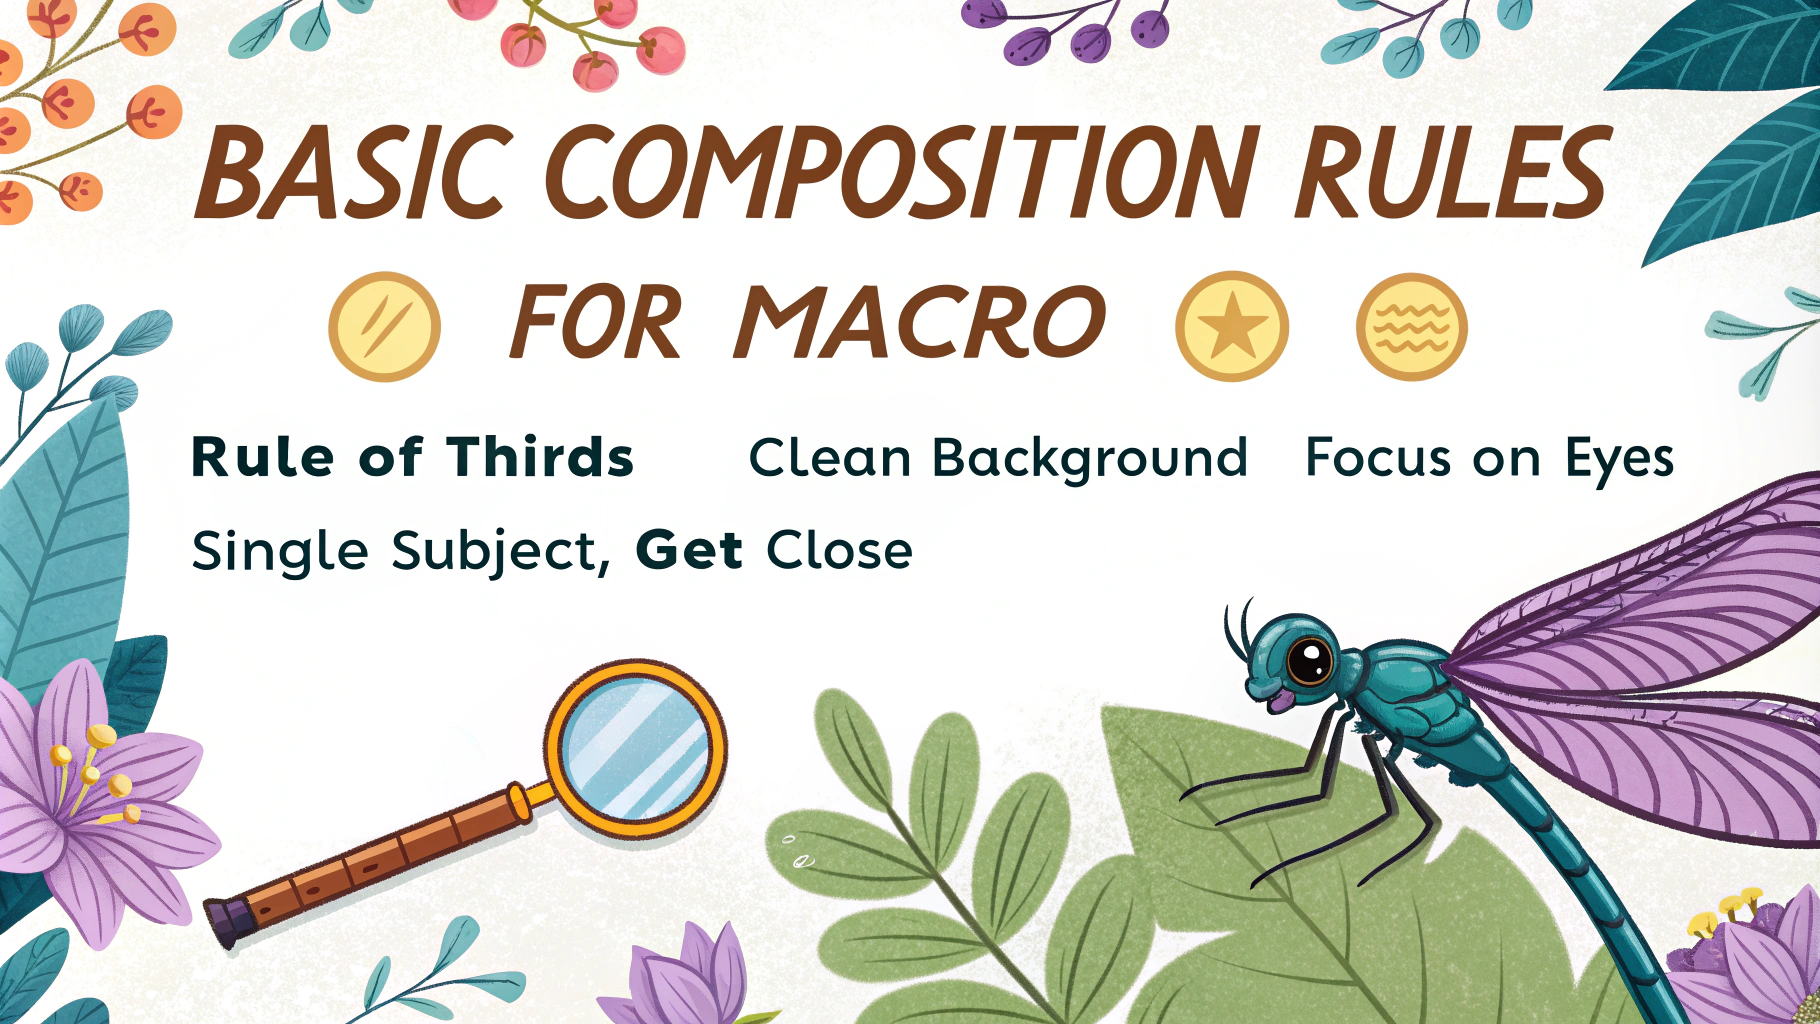
Divide your frame into a 3×3 grid and place your main subject at any of the intersection points for a balanced composition.
Fill the Frame
Get close to your subject and let it dominate the composition, showing intricate details that make macro photography special.
Find Clean Backgrounds
- Use wide apertures (f/2.8 – f/5.6) to blur distracting backgrounds
- Position subjects against simple, uncluttered surfaces
- Consider using black or white cards as artificial backgrounds
Leading Lines
Use natural lines in your subject (like flower stems or leaf veins) to guide viewers’ eyes through the image.
Symmetry and Patterns
Look for repeating shapes and naturally occurring patterns in small subjects like flowers, insects, or water drops.
Consider Your Angle
- Shoot at eye level with small creatures for more engaging photos
- Try different perspectives – top-down, side-on, or from below
- Move around your subject to find the most interesting composition
Focus Points
When photographing insects or flowers, focus on the eyes or center of the flower for maximum impact.
Negative Space
Leave empty space around your subject to create a sense of scale and draw attention to the main element.
Technical Tips for Better Composition
- Use a tripod to maintain sharp focus
- Consider focus stacking for greater depth of field
- Work with manual focus for precise control
- Use mirror lock-up or electronic shutter to minimize vibration
Recommended Equipment
- Macro lens (60mm, 100mm, or 180mm are popular choices)
- Ring light or dual flash system
- Sturdy tripod with macro focusing rail
- Remote shutter release
Practice these composition techniques regularly, and remember that rules can be broken once you understand their purpose.
For more detailed guidance on macro photography techniques, contact professional macro photographers through organizations like Nature Photographers Network.
Working with Natural Light
Early morning and late afternoon provide soft, diffused light ideal for macro photography. Overcast days can also offer excellent lighting conditions without harsh shadows.
Subject Selection
- Start with stationary subjects like flowers and textures
- Progress to water drops and reflections
- Build up to more challenging subjects like insects
- Look for interesting textures in everyday objects
Weather Considerations
Different weather conditions create unique macro opportunities:
- Morning dew for water droplet photography
- After rain for water-beaded surfaces
- Calm days for moving subjects
- Frost for winter macro shots
Post-Processing Tips
- Fine-tune contrast to enhance texture details
- Adjust clarity to bring out patterns
- Remove sensor dust spots, which are more visible in macro shots
- Consider selective sharpening for key focus areas
Common Challenges and Solutions
Limited Depth of Field
- Use focus stacking techniques
- Choose appropriate aperture settings
- Position subject parallel to sensor
Camera Shake
- Increase shutter speed
- Use solid support systems
- Enable image stabilization when appropriate
Conclusion
Successful macro photography combines technical precision with artistic vision. Master these fundamental techniques, then experiment with your own creative interpretations. Remember that patience and practice are essential as you explore the fascinating world of macro photography.
Join local photography groups to share experiences and techniques with fellow macro enthusiasts. Document your progress and maintain a portfolio of your best macro work to track your development in this specialized field.
Basic Composition Rules for Macro Photography FAQ
- What is the rule of thirds in macro photography?
The rule of thirds divides your frame into a 3×3 grid, with key elements placed along these lines or at their intersections to create more dynamic macro images. - How do I create a clean background in macro shots?
Use a wider aperture (f/2.8-f/5.6) to blur the background, and position your subject with distance between it and background elements to achieve better separation. - What’s the best angle for macro subjects?
Shoot at eye level with small subjects like insects, or try a 45-degree angle for flowers and static subjects to show depth and dimension. - How do I handle depth of field in macro photography?
Use focus stacking for maximum sharpness, or select an aperture between f/8 and f/16 to balance depth of field with image quality. - Should I include the entire subject in macro shots?
Not always – sometimes focusing on interesting patterns or textures of a small portion can create more impact than showing the entire subject. - What’s the ideal lighting setup for macro photography?
Diffused natural light or a ring light provides even illumination, while side lighting can enhance texture and create depth in your macro subjects. - How do I maintain sharpness in macro shots?
Use a tripod and remote shutter release to minimize camera shake, and consider using live view for precise manual focusing. - What’s the best composition for symmetrical subjects?
Center composition works well for symmetrical subjects like flowers or insects, breaking the rule of thirds for maximum impact. - How do I create visual flow in macro images?
Use leading lines, curves, or patterns within your subject to guide the viewer’s eye through the frame. - What’s the ideal subject-to-background ratio?
Aim for your subject to occupy 1/3 to 1/2 of the frame, leaving enough negative space to create context while maintaining impact.
Essential Equipment for Macro Composition
- Tripod with adjustable center column
- Macro lens or extension tubes
- Remote shutter release
- Diffuser for harsh light
- Focusing rails for precise adjustments
Quick Tips for Better Macro Composition
Look for patterns and textures that might go unnoticed by the naked eye.
Study your subject from multiple angles before settling on a composition.
Consider using a black or white backdrop for isolated shots of small subjects.
Morning or late afternoon light typically provides the best natural lighting conditions for macro work.
Keep your camera parallel to flat subjects to maintain consistent focus across the frame.
| Subject Type | Recommended Approach |
|---|---|
| Insects | Eye-level, early morning when they’re less active |
| Flowers | 45-degree angle, diffused backlight |
| Water drops | Direct angle, dark background |
| Textures | Parallel angle, side lighting |
