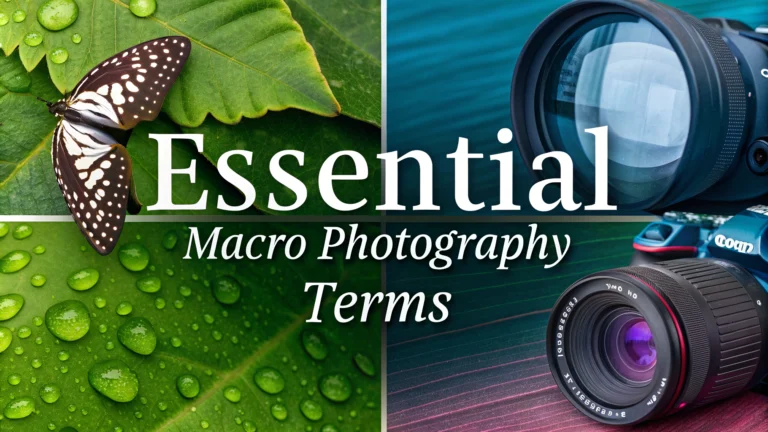
Understanding macro photography terms helps photographers capture stunning close-up images with technical precision.
Basic Macro Terms
- Magnification Ratio – The relationship between subject size on the camera sensor versus its actual size (1:1 means life-size)
- Working Distance – The space between your lens front element and the subject
- Depth of Field – The zone of acceptable sharpness in your image, typically very shallow in macro work
- Focus Stacking – Taking multiple shots at different focus points to combine into one sharp image
Equipment-Related Terms
- Extension Tubes – Hollow tubes that mount between camera and lens to enable closer focusing
- Focusing Rails – Sliding platforms allowing precise forward/backward camera movements
- Reversing Rings – Adapters enabling a lens to be mounted backwards for increased magnification
- Macro Ring Light – Circular flash unit that mounts around the lens for even lighting
Technical Concepts
Understanding these technical aspects helps achieve sharper macro images:
- Diffraction – Image softening that occurs at smaller apertures (common in macro)
- Focus Breathing – Change in magnification as focus distance changes
- Image Stabilization – Technology reducing camera shake effects
Practical Tips
- Use manual focus for precise control
- Start with apertures between f/8 and f/11 for optimal sharpness
- Consider using a tripod for stability
- Practice with larger subjects before moving to tiny ones
Recommended Equipment
| Item | Purpose |
|---|---|
| Canon MP-E 65mm f/2.8 | Professional macro lens for extreme magnification |
| Nikon 105mm f/2.8G VR | Versatile macro lens with good working distance |
| Manfrotto 410 Junior Geared Head | Precise positioning control |
Learn more about macro photography at Close-up Photography Resource or join discussions at the Macro Photographers Forum.
Advanced Macro Techniques
Lighting Methods
- Cross Lighting – Using two light sources at angles to create texture
- Backlighting – Placing light behind translucent subjects for dramatic effect
- Diffused Flash – Using softboxes or diffusers to create soft, even lighting
Composition Strategies
- Leading Lines – Using natural curves and patterns to guide viewer attention
- Negative Space – Strategic use of empty areas to highlight subject
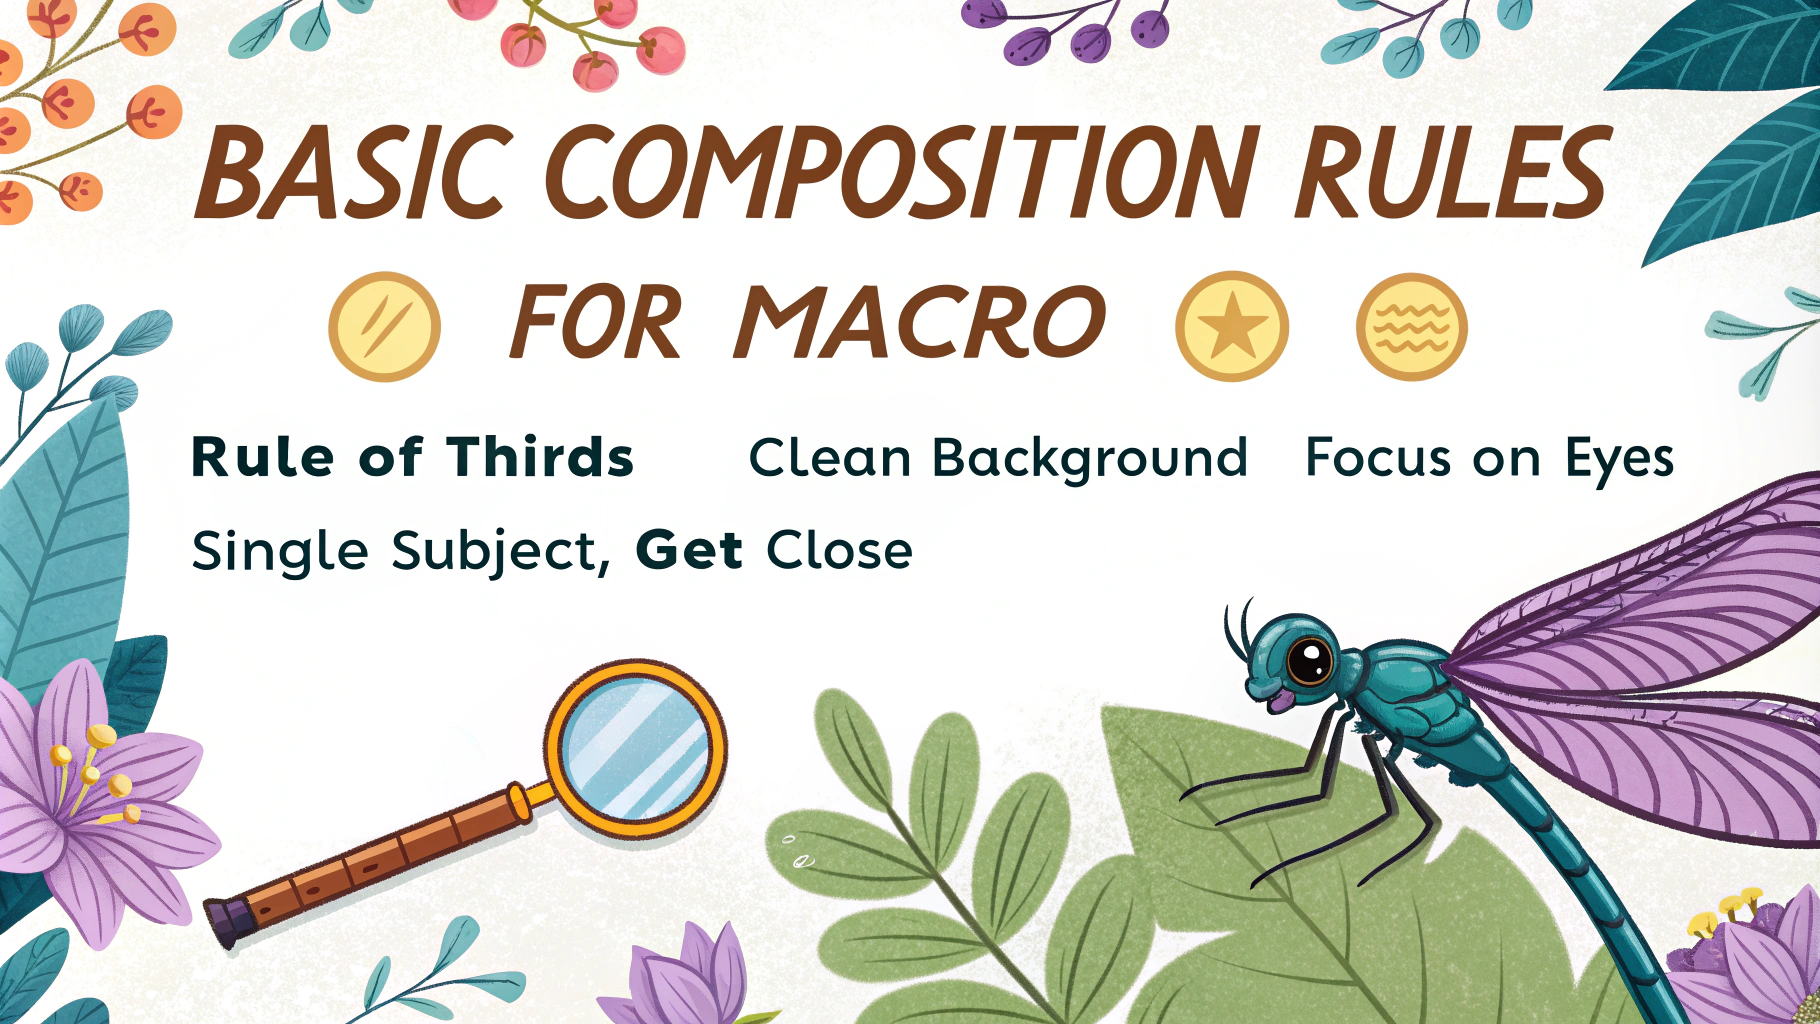
- Rule of Thirds – Placing key elements at intersecting points
Environmental Considerations
- Wind Protection – Using shields or natural barriers to minimize movement
- Time of Day – Early morning often provides still conditions and good light
- Weather Impact – Humidity and temperature effects on equipment and subjects
Post-Processing Techniques
- Selective Sharpening – Enhancing detail in key areas while maintaining natural look
- Noise Reduction – Managing high-ISO artifacts in low-light conditions
- Color Balance – Adjusting temperature and tint for accurate subject reproduction
Conclusion
Successful macro photography requires understanding technical concepts, mastering specialized equipment, and developing practical skills through regular practice. The combination of proper technique, appropriate gear, and creative vision enables photographers to reveal the intricate details of the miniature world. Whether capturing insects, flowers, or textures, these fundamentals provide the foundation for creating compelling close-up images.
Remember that patience and persistence are essential as you develop your macro photography expertise. Start with basic techniques and gradually incorporate more advanced methods as your skills improve.
Frequently Asked Questions About Essential Macro Photography Terms
- What is magnification ratio in macro photography?
The magnification ratio indicates how large a subject appears on your camera’s sensor compared to its actual size – a true 1:1 ratio means the subject is captured at life-size on the sensor. - What’s the difference between close-up and macro photography?
Macro photography specifically refers to images captured at 1:1 ratio or greater, while close-up photography involves shooting subjects closer than normal but at ratios smaller than 1:1. - Do I need a special lens for macro photography?
While dedicated macro lenses offer the best results, you can start with extension tubes, reverse rings, or close-up filters on your existing lenses for macro photography. - What is working distance in macro photography?
Working distance refers to the space between your lens’s front element and your subject – longer macro lenses typically provide more working distance, which is helpful when photographing sensitive subjects like insects. - How can I achieve sharp macro photos?
Use a tripod, enable mirror lock-up, shoot with a remote shutter release, and consider focus stacking for maximum sharpness in macro photography. - What’s the best aperture setting for macro shots?
Most macro photographers use apertures between f/8 and f/16 to balance depth of field with diffraction, though this varies based on subject and lighting conditions. - Why is focusing so challenging in macro photography?
At high magnifications, the depth of field becomes extremely shallow (often just millimeters), making precise focusing critical for sharp images. - What lighting equipment works best for macro photography?
Ring lights, twin flashes, or diffused continuous LED lights provide even illumination for macro subjects, while natural light can work well for stationary subjects outdoors. - What is focus stacking in macro photography?
Focus stacking involves taking multiple shots at slightly different focus points and combining them in software to create an image with greater depth of field than possible in a single shot. - How do I prevent camera shake in macro photography?
Stabilize your camera using a sturdy tripod, use electronic first curtain shutter or mirror lock-up, and consider using a remote shutter release or timer to minimize vibrations.

